As I mentioned in our previous post about constructing an upcycled compost shed, we had a serious surplus of yard waste on this property when we first arrived back in October. In addition to needing a solution to decrease our waste, we also started looking around and recognized the need for more spaces to plant fruits, veggies, and herbs.
Enter the hügelkultur idea. I first experimented with hügelkultur when I lived in a tent for almost two months on the North Shore of Maui. We were helping a family rebuild get the two-acre farm portion of their property ready to start cultivation. As a result of our clearing and trimming efforts, we ended up with a lot of yard waste as well.
My buddy (@jabroniejoe) is a rockstar horticulturist and saucy green thumb. He knew about this technique and we implemented it with great success on that Maui property. So, when I arrived here, it’s the first idea that popped into my head and we ran with it. In this article, I’m going to cover the basics of digging and planting a hügelkultur mound.
Side note: Please take some time to learn about us and understand why we’ve created this site. We are always on the lookout for new opportunities and we believe in the power of win-win situations to improve life on this planet for all! Please don’t hesitate to Contact Us if you have any questions or want to talk about how our future plans may align.
Step 1: Choose a Location
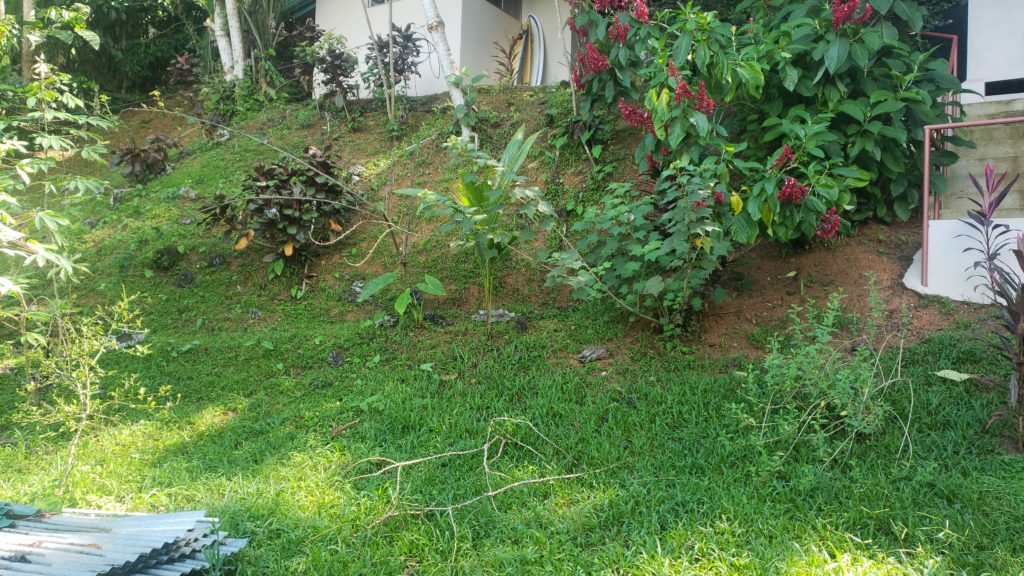
Your first step is choosing a location for your eventual hügelkultur mound. In our case, I chose a spot just at the bottom of the hillside. I wanted a location that would be out of the way of the major foot traffic on the property. The location has the added benefit of assisting the hillside to remain intact as the plants we grow send their roots deep into the soil.
For that reason, hillsides are actually a great location for a hügelkultur mound. If you plan to plant larger trees in your mound, this is all the more reason to choose a hillside location. As your trees grow and send roots deeper and deeper, you’re also mitigating your hillside against runoff or the potential for a mudslide during particularly rainy months.
The other factor to consider is how deep you’ll need to dig. From most recommendations I researched, you’re going to want to dig at least 12 inches down. Make sure that the location you choose offers deep soil so that you can dig down far enough.
Step 2: Dig A Trench or Hole
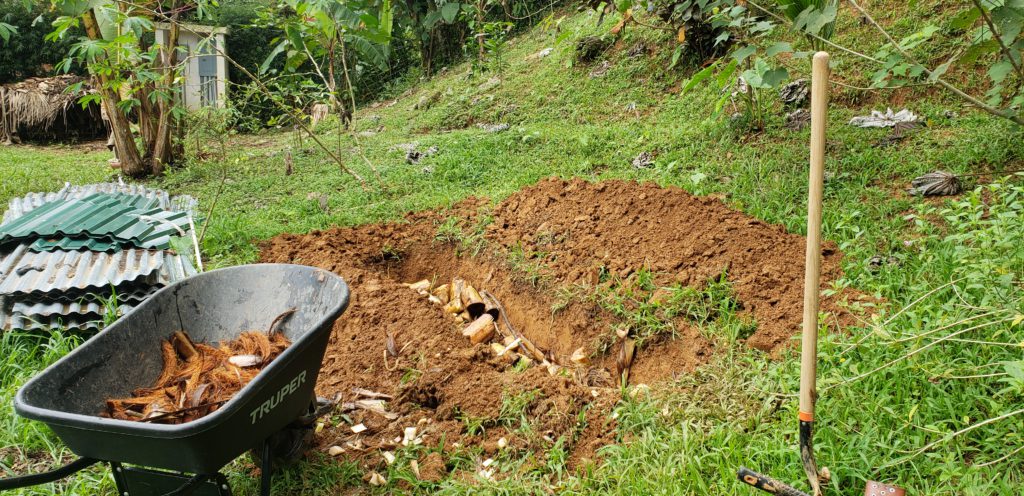
Once you’ve settled on the location for your hügelkultur mound, it’s time to start digging! If you like hand tools (like me!), grab your favorite shovel and pickaxe and get to work. If you have access to a backhoe, things will move a bit quicker for you.
What you’re looking to do is create a trench or hole somewhere between 12 and 18 inches deep. The exact size of your trench will depend on how much yard waste you plan to bury in it. The initial hügelkultur trenches that I dug on the property were about six feet long, two feet wide, and 18 inches deep. I had a ton of yard waste in the form of down plantain trees, palm fronds, dried leaves, and grass clippings to get rid of.
Things grow so fast here in Costa Rica that we end up with a ton of yard waste to get rid of every few months. The great part about hügelkultur is that it gets the waste out of sight (and therefore out of mind) and soon after you’ve got more space to plant new fruits, veggies, and herbs.
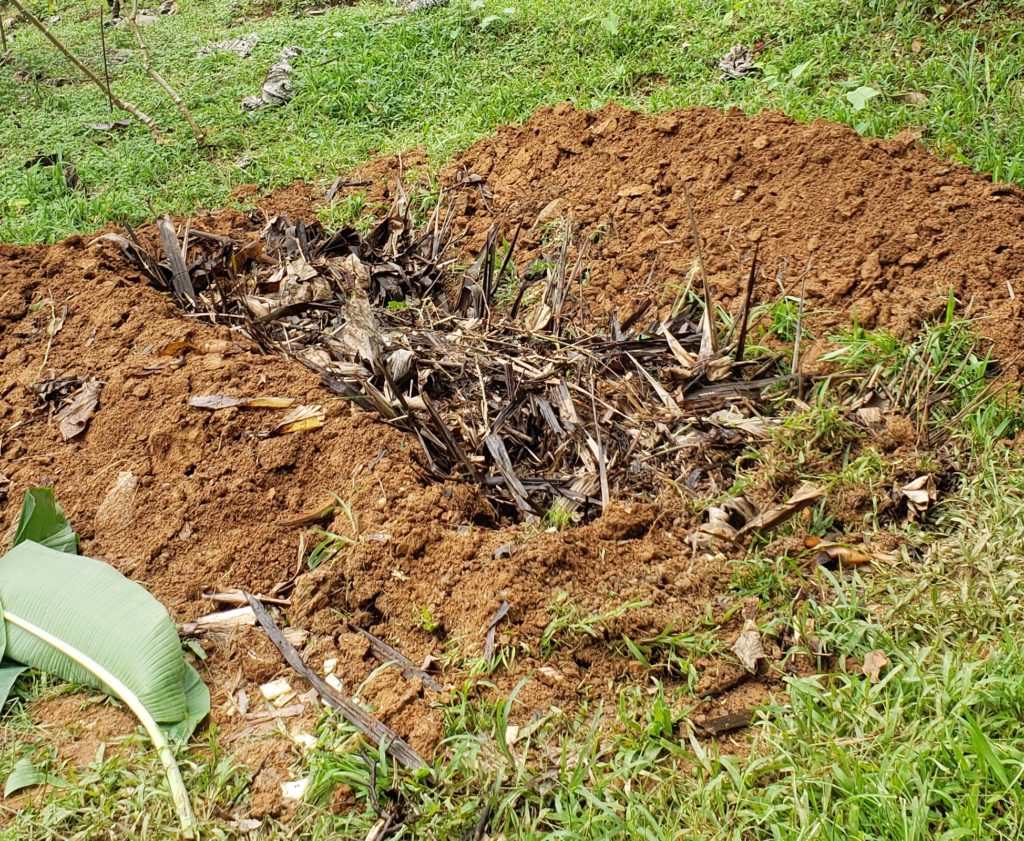
Step 3: Fill the Hole with Yard Waste
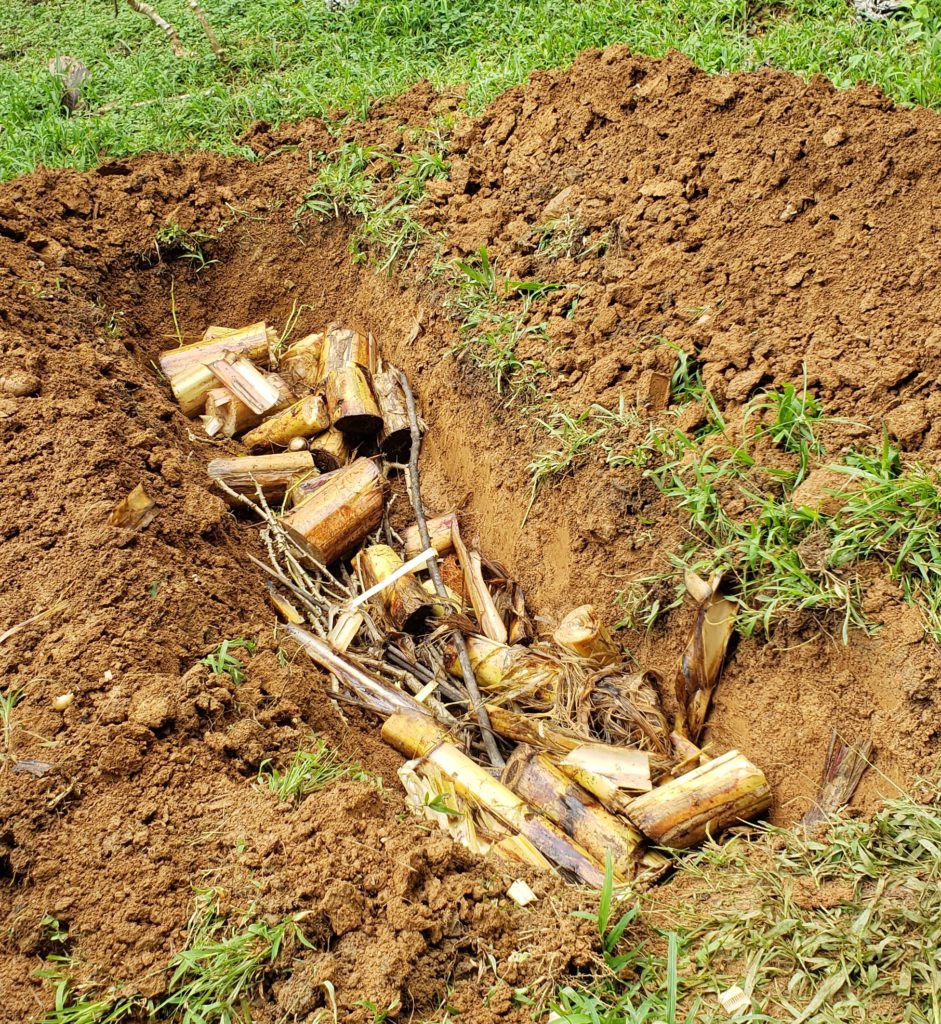
So next, it’s time to fill the trench with your yard waste. I tend to place larger trunks, branches, and tree rounds toward the bottom of the trench and then use things like dried leaves and palm fronds to fill the trench the rest of the way. It’s surprising how much you can pack into one of these trenches, and you shouldn’t be afraid to overfill.
Once you move on to the next step, you’ll find that the waste you fill the trench with compacts significantly. In order to make sure I’ve put enough waste in the trench to create a solid mound once all things are said and done, I usually hop in there and walk on the waste to pack it down several times before I decide to move on to filling the trench in.
One thing to be careful about in this stage is that you’re not adding any wood or waste that’s going to be toxic to the plants you intend to grow in the mound. From conversations with locals here in Uvita, I’ve learned that there are some types of wood that can be toxic. Not only will they compromise your hügelkultur mound but the chemicals they contain can leach into other parts of your yard and have a larger effect. So, it’s important to make sure you’re not burying any toxic woods in your hügelkultur mounds.
Step 4: Cover Yard Waste with Dirt From Trench
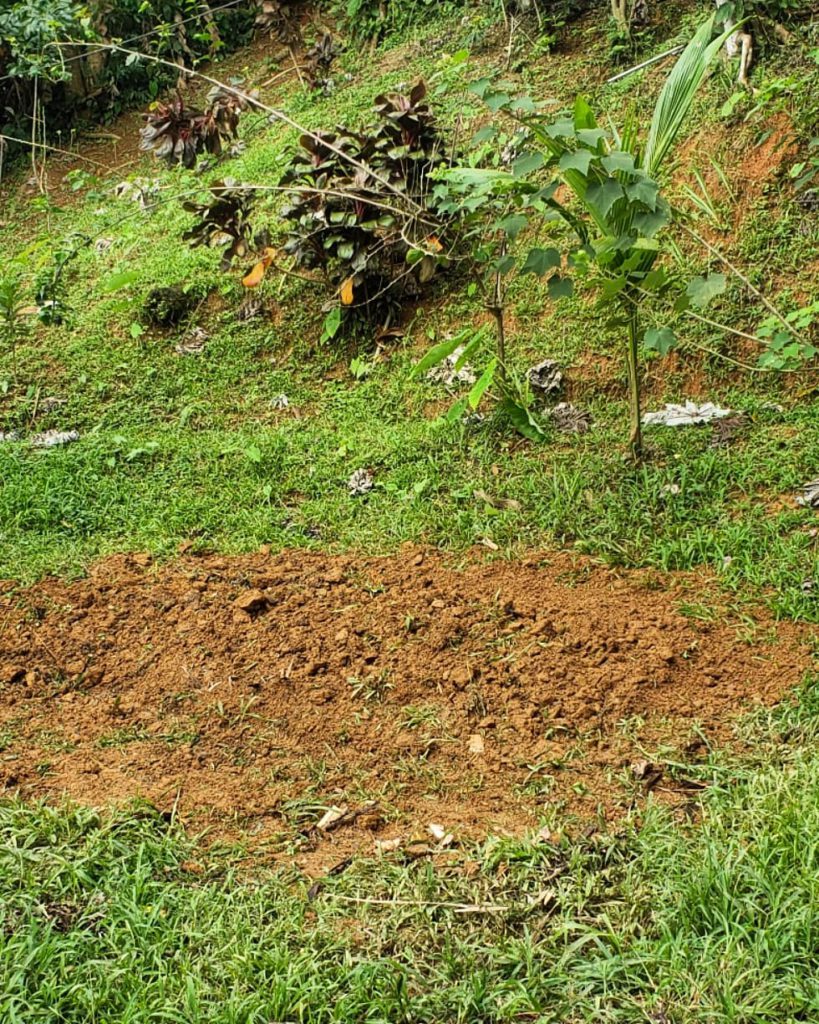
Once you’re content with the amount of yard waste you’ve placed in the trench, it’s time to start filling it in with the dirt you originally removed from the trench. This is a relatively easy process if you’re getting your hügelkultur bed dug, filled, and covered in one day. If you leave the dirt you removed from the trench for a few days, however, it will settle and be much more difficult to move again.
One technique that I would consider (although I didn’t use it with the two trenches I dug here) is placing a plastic tarp next to your trench and then shoveling all the dirt you remove onto that tarp. That will reduce the amount of dirt that you “lose” out of the system. Once you’ve moved 90% of the dirt back over the yard waste in your trench, you’ll also be able to pick up the tarp to dump the remainder on top. If it’s still heavy, don’t hesitate to find a friend who can help you with the final heave!
Step 5: Add a Layer of Compost Fertilizer
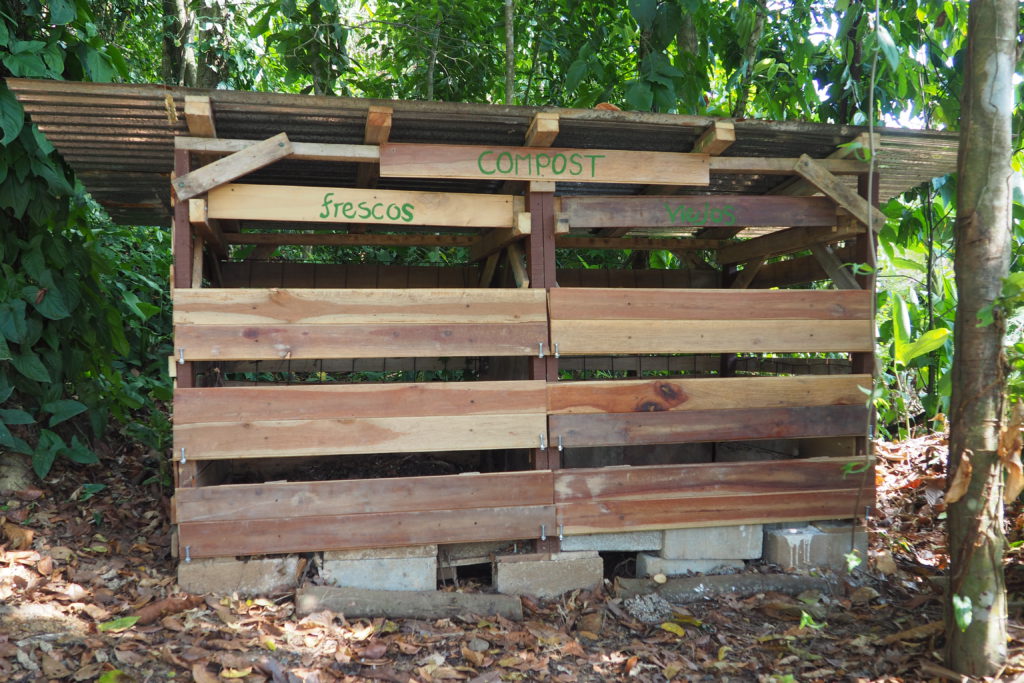
After you’ve filled your trench in with the dirt that was originally there, it’s time to add a healthy layer of fertilizer. If you have access to compost fertilizer on your property (like we do), this is the best way to reuse the fertilizer you’re creating by composting your food scraps. If your pile looks anything like ours, however, you’ll find it necessary to strain the really good fertilizer from the scraps that still need more time to break down.
Because our piles were mismanaged for a long time, we’re taking the time to strain through everything before we place it back in our gardens. It’s been an insightful process, as we’ve found a lot of plastic, trash, metal, rocks, and other items that shouldn’t be in there during the straining process. Our strainer is very simple. We took a piece of 1/4-inch chicken wire and secured it between wooden 1x2s on all four sides. This strainer then sits on top of our wheelbarrow and allows us to pick through what shouldn’t be in our compost pile. It’s a great way to make our pile healthier while we’re also creating soil that can be used as fertilizer around the property.
Once you have your fertilizer, add a healthy 2-3 inch layer of it on top of your hügelkultur bed. This will make the upper layer of your mound healthy and full of the nutrients that your plants will need. During this process, we always find countless worms and grubs, and the birds around our property always seem to be very interested in what we’re going during this stage.
Step 6: Wait For It…

Once you cover the mound with a healthy layer of fertilizer, I recommend watering it down so that everything starts to settle. As things decompose in your mound, you will notice that the mound shrinks and it could develop some cracks that grow over time. As such, it’s important to continue to add layers of fertilizer to the mound every couple of months. This will not only keep the mound from going flat, but it will also make whatever you plant into the mound much happier!
Step 7: Plant!

In theory, you can plant into a hügelkultur mound immediately after you’ve created it. In practice, I’ve just aired on the side of allowing things to settle and begin to decompose for a week or two before I begin planting into it. So far, we’ve planted a variety of fruits and vegetables into our two mounds.
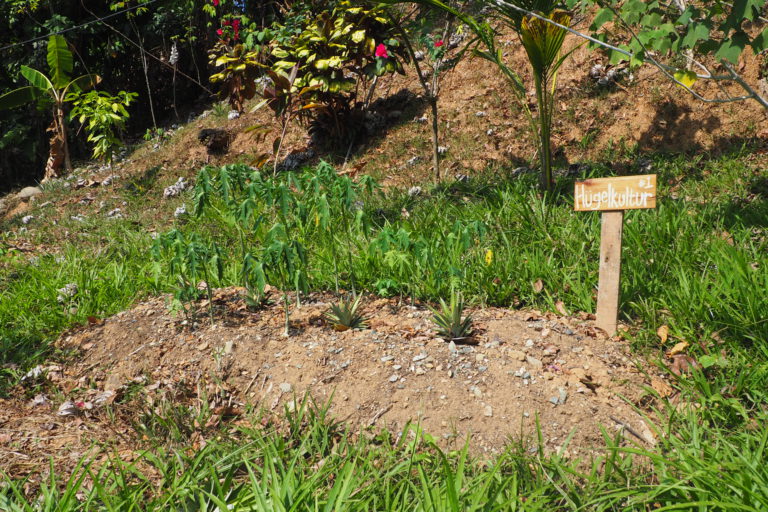
Hügelkultur #1 is almost completely dedicated to papaya at this point. We did try to plant a few pineapples in the center, but none of them have taken thus far. However, we planted the papaya from seeds that we harvested from a papaya fruit we bought at the farmer’s market and we’re currently growing about 5 or 6 young trees just in this mound alone.
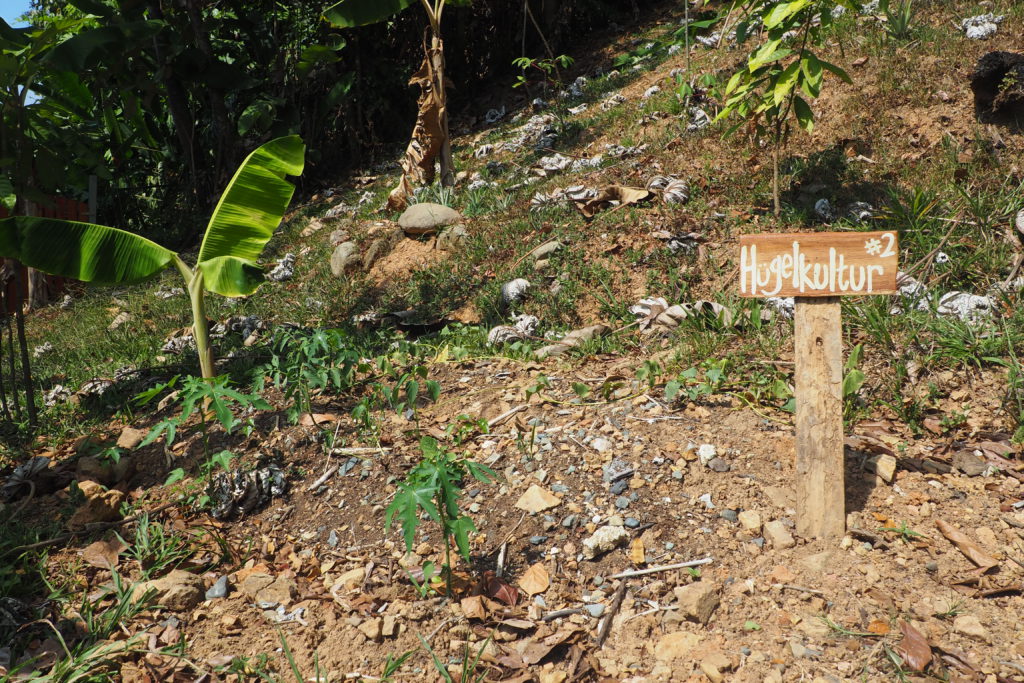
Hügelkultur #2 is home to sweet potatoes, sweet peppers, and a couple more rogue papaya that we’re not sure where they came from. I’ve recently learned that I should’ve given the sweet potatoes a lattice structure to grow more healthily, so that is the latest addition behind this mound. The sweet peppers in the front were seeded from leftover seeds from a pepper bought from our farmer’s market and the potatoes were propagated from the ends of old sweet potatoes we enjoyed for breakfast potatoes a while back.
We actually do have a third smaller hügelkultur bed that we tried watermelon and pineapple in. So far, two out of the four pineapples have taken root, but the watermelon was choked out by more rogue papaya. We love papaya (and apparently so do the toucans, which we wouldn’t mind having more of on the property), so we’re not too upset about this development.
Before you decide what to plant in your hügelkultur beds, do some research into what grows best in your particular climate. Root vegetables tend to be a good place to start as fruit trees just take longer to bear, but as you can see from our examples, our experiments with fruit trees have been very successful thus far.
The Slow Life Guides
When we wrap up our time here in Costa Rica, we will be moving back stateside for the foreseeable future. After a spring road trip and some time in Lake Tahoe for the summer, we will be settling in Santa Cruz, California for the next four years as Katie pursues her degree in Traditional Chinese Medicine.
We would love an opportunity to help manage another Airbnb and work on property improvement projects like this one! If you’re interested in speaking to us about such an arrangement, shoot us an email to tucker@slowlifeguides.com or katie@slowlifeguides.com. We love the idea of leaving places better than we have found them and know that we can provide considerable value for the right property owner. If that’s you, we look forward to hearing from you!
We are the owners of this property that Tucker and Katie have been writing about. They have indeed left our property better than when they arrived a mere five months ago! Though we are grieving that they are leaving, they have left us so much life on our property and we smile at every indelible and life-giving mark they have left. If you have a property or Airbnb that you would like a manager for, please do not hesitate to get our contact information from Tucker and Katie. We are happy to provide a glowing reference. They are one-of-a-kind and we will cherish the time they have loved our property and ushered it to the next level. Buen viaje y Pura Vida Katie and Tucker!
Thank you Anita! One of the biggest things we’ve learned is that hügelkultur in the tropics is a must!!!
I love your slow life learning guide and step-by-step formula for today. With this, I will go out with this very life-enhancing information and use it to really relax my life and enjoy a stress and worry free time wherever I go traveling or evening otherwise staying someplace around the home to enjoy with my family or even occasionally by myself. Thank you for the highly informative post!
Hello there, wow I really enjoyed this post. I’m not a big fan of gardening but I really enjoyed reading this post about creating a hugelkultur which was certainly new to me. I love how you broke down the process into simple manageable steps making it easy to follow. I’ll have to be sure to share with my mum as she enjoys gardening although we don’t have any hillsides in our area…
It’s one of the easiest ways to convert yard waste into a new space to plant into. Thanks for reading and I hope you do pass it along!